How to Repair a Leather Car Seat Yourself!
Over time, leather seats can begin to show signs of wear and tear. This can include scratches, discoloration, and even cracking. Fortunately, fixing car leather seats is not as difficult as you might think. In this comprehensive guide, we will cover the essential steps to revive, restore, and rejuvenate your car’s leather seats.
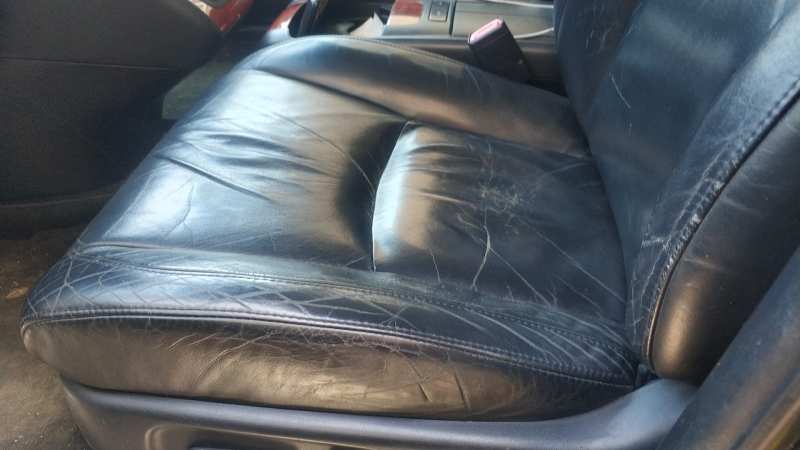
Assess the Damage
Before you can begin the process of fixing your car’s leather seats, it’s important to first assess the level of damage. Look for visible signs of wear, such as scuff marks, scratches, cracks, or stains. By determining the extent of the damage, you can choose the most appropriate repair method and ensure the best possible results.
By taking the time to carefully assess the condition of your seats, you’ll be able to make an informed decision on the most suitable repair method, thereby ensuring that the end result is nothing short of spectacular. After all, the first step to solving a problem is understanding its nature, and this holds true for restoring your car’s leather seats as well.
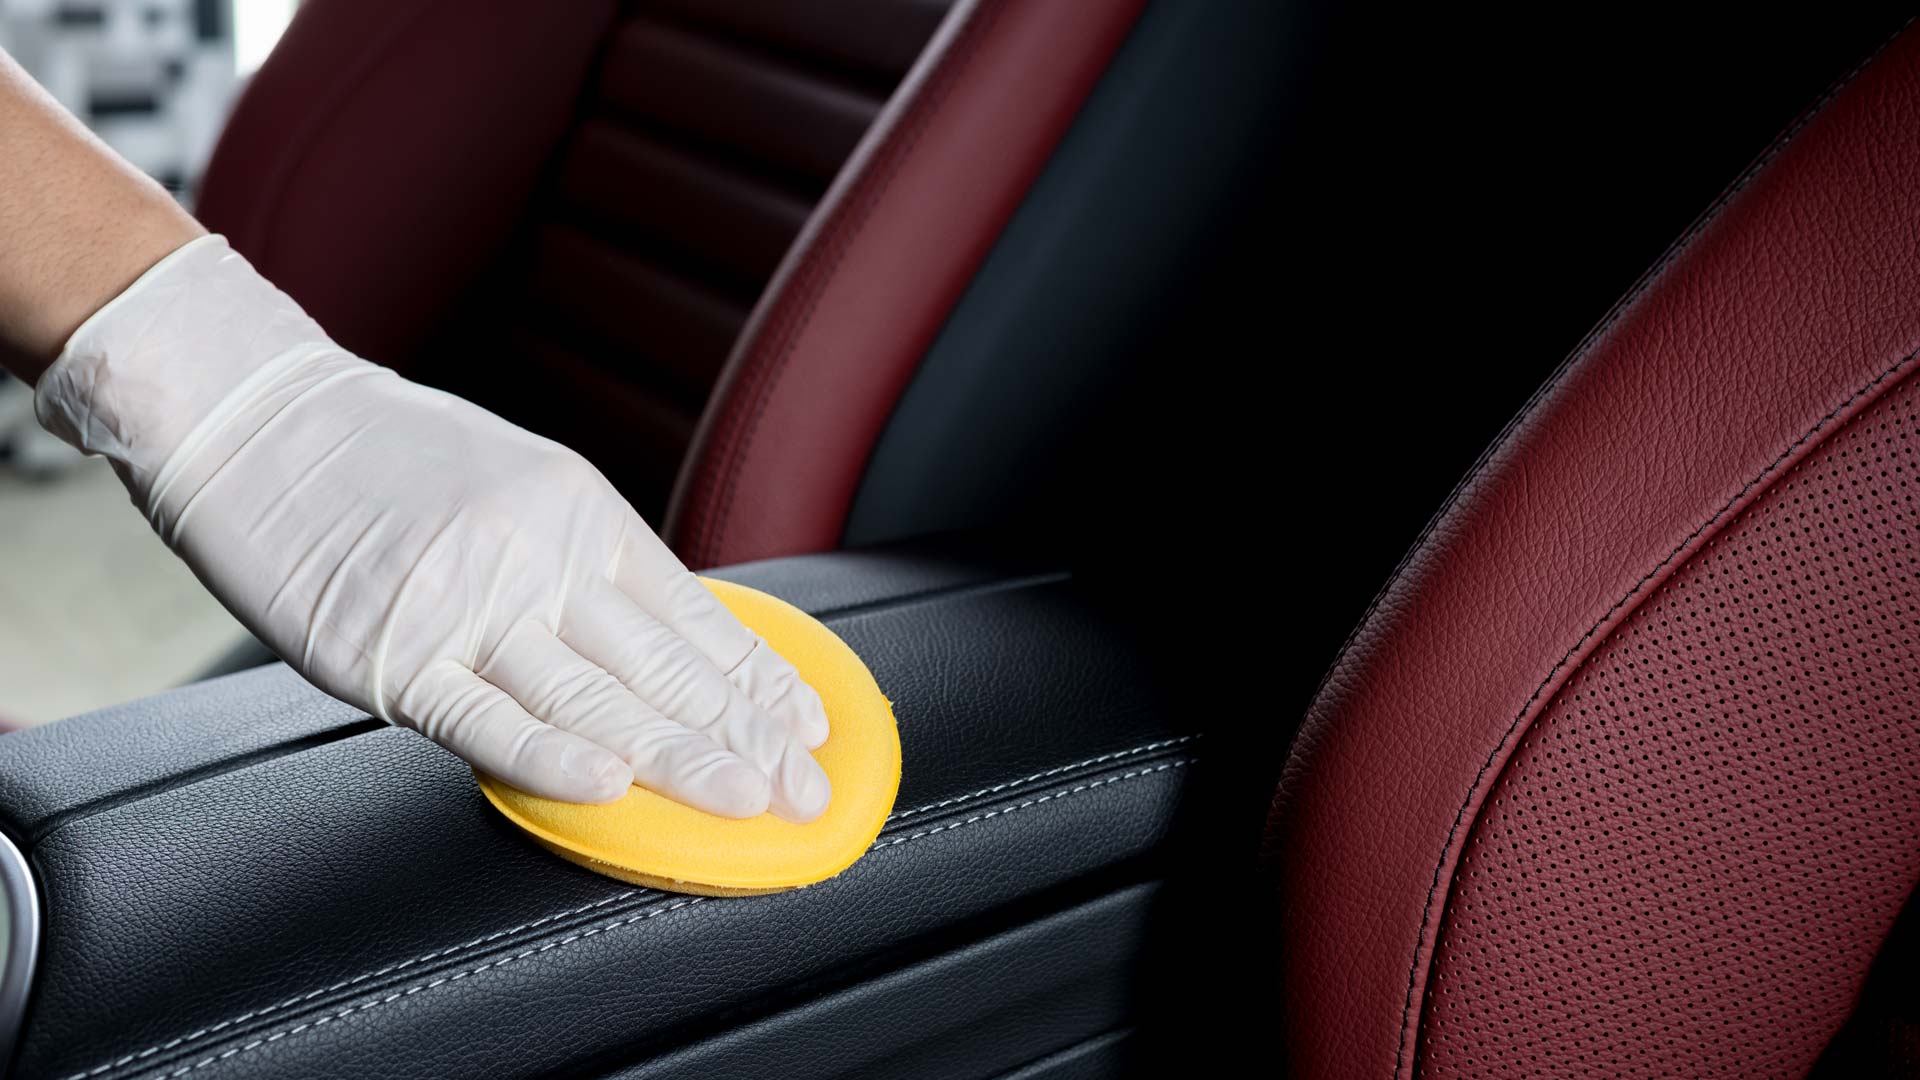
Clean the Leather Seats
A crucial step in fixing your car’s leather seats is giving them a thorough cleaning. This will remove any dirt, debris, and oils that may have accumulated over time, providing a clean surface to work with. To clean the seats, use a gentle leather cleaner designed specifically for automotive interiors. Follow the manufacturer’s instructions and use a soft, lint-free cloth to gently work the cleaner into the leather. Be sure to avoid using harsh chemicals or abrasive materials, as these can cause further damage to the seats.
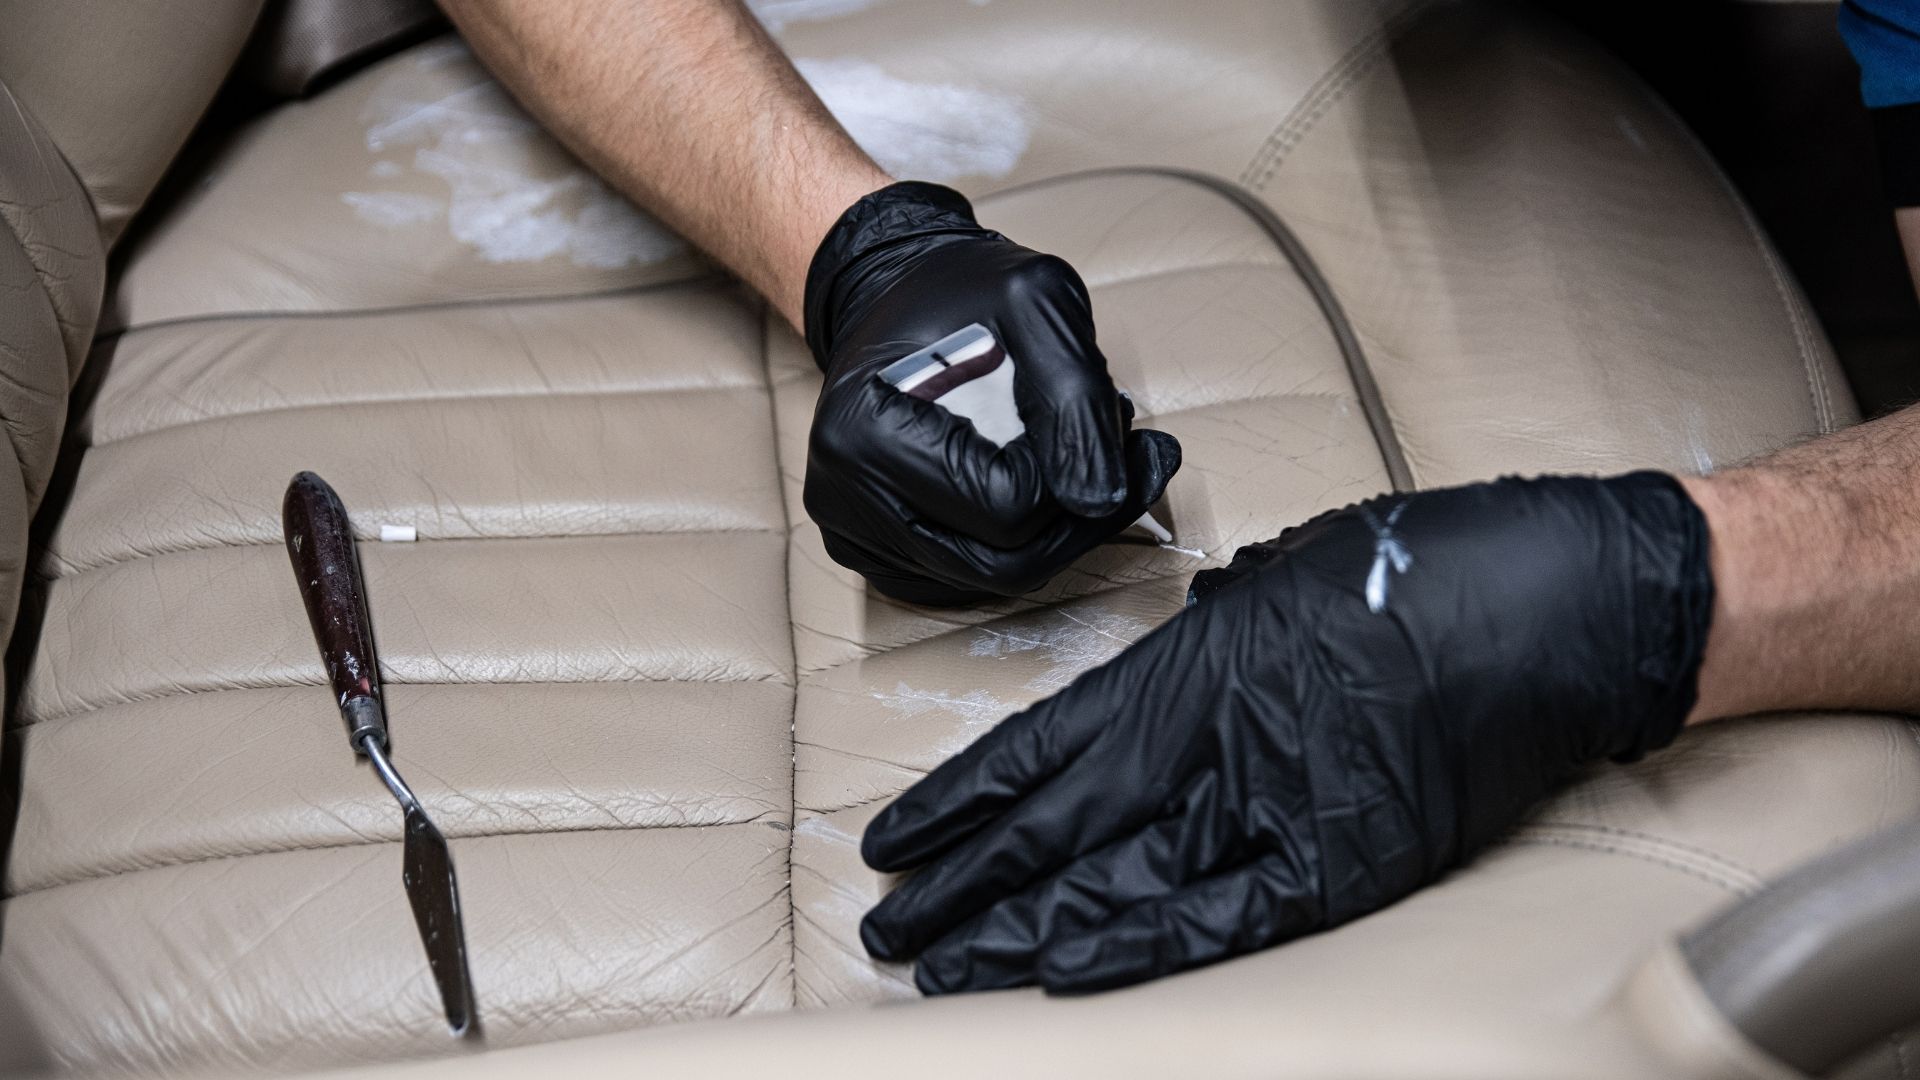
Repair Scratches and Scuff Marks
Repairing these little nuisances is actually simpler than you might imagine. Leather repair kits, which have become quite popular among car owners, are your go-to solution for these problems. These kits are cleverly designed with an array of colored repair compounds that you can mix and match to achieve the perfect shade that complements your seat’s unique color.
Now, you might be wondering how to use these repair compounds effectively. It’s actually quite simple. With the help of a small applicator tool, which usually comes with the kit, you’ll carefully apply the repair compound to the damaged area. Make sure you’re patient and precise, as blending the compound seamlessly with the surrounding leather is key to achieving professional-looking results. Once the compound has dried, which may take a little while, you’ll want to gently buff the area with a soft cloth. This will help to remove any excess compound and create a smooth, polished finish that makes it seem as though the scratches and scuff marks never existed.
Remember, when it comes to fixing your car’s leather seats, patience and attention to detail are your best allies. The more time and effort you invest in the repair process, the more impressive the results will be. With the right tools and techniques, those unsightly scratches and scuff marks will become a thing of the past, and your leather seats will be left looking as good as new.
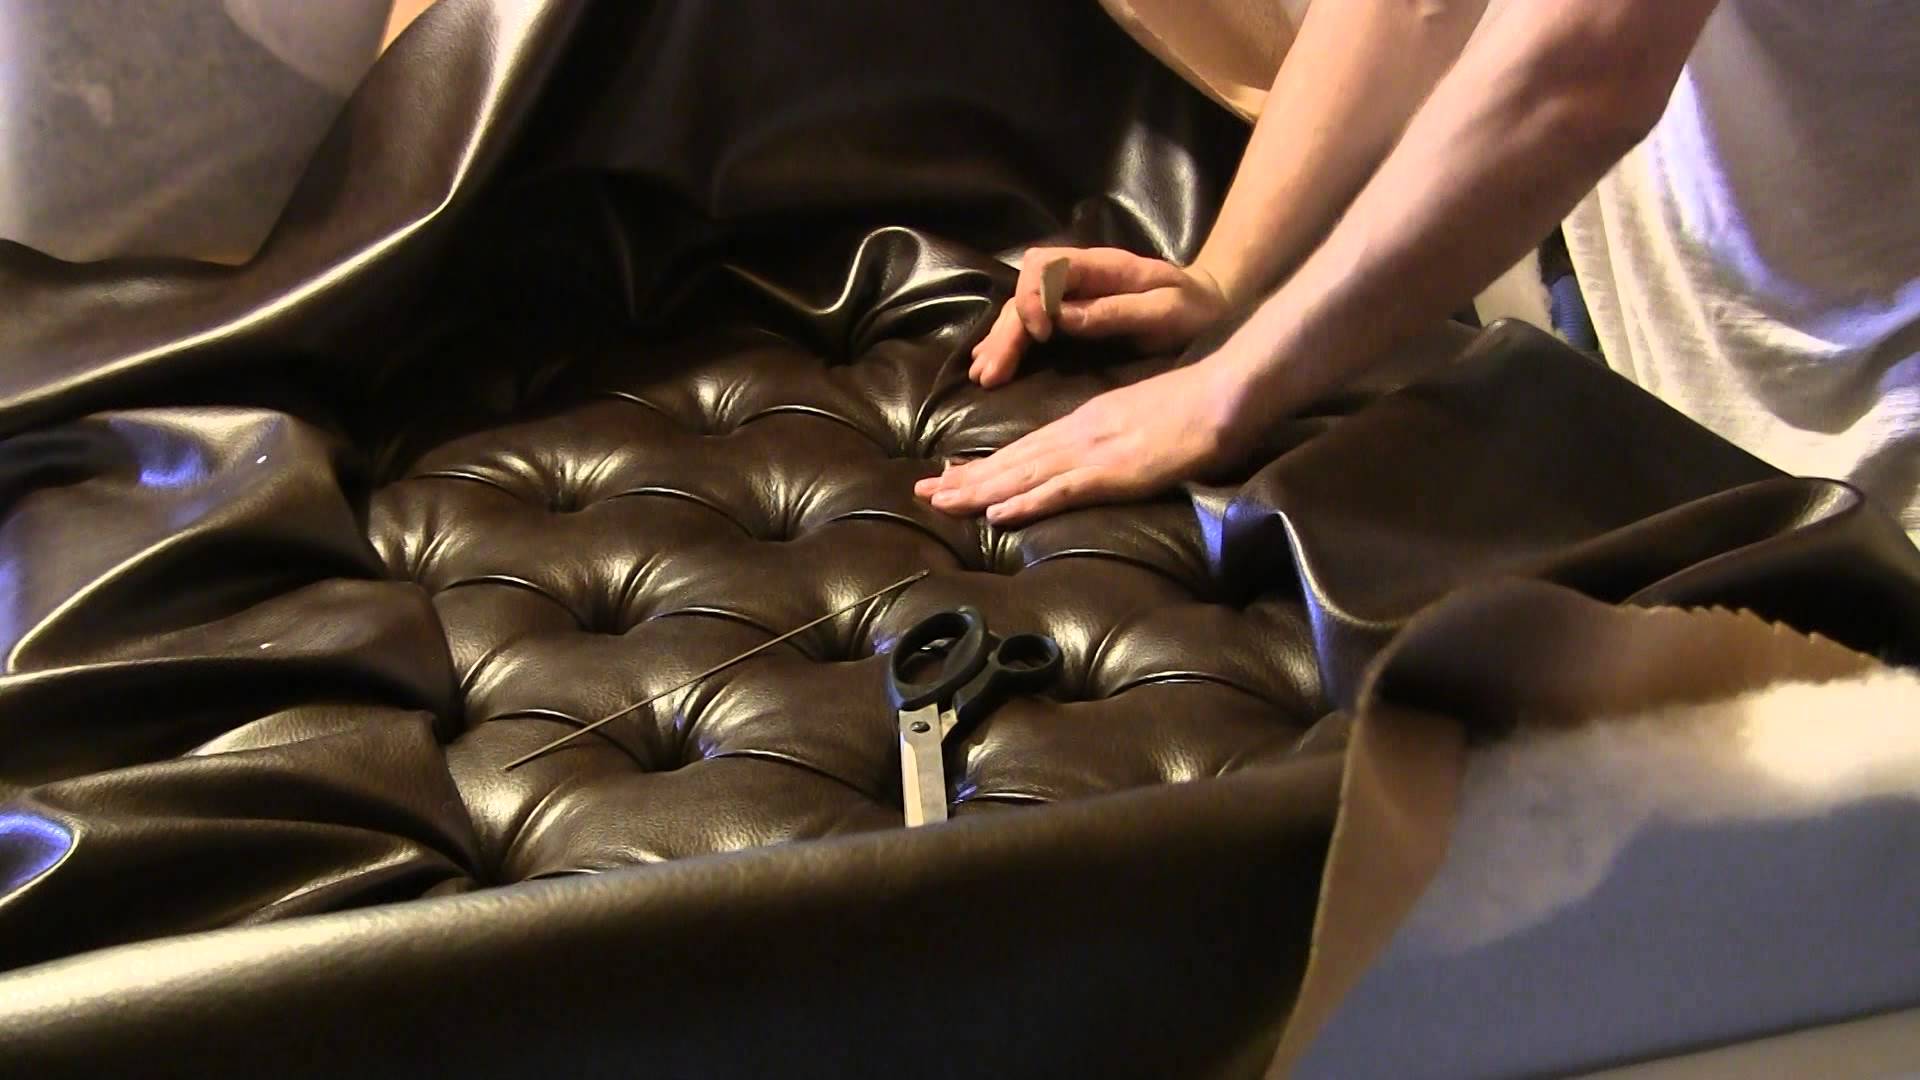
Fix Cracks and Tears
For more severe damage, such as cracks or tears, a more intensive repair process may be required. In these cases, a leather repair patch can be used to provide additional support and reinforcement. Begin by trimming any frayed edges or loose fibers from the damaged area. Next, cut a piece of the leather repair patch to the appropriate size and shape, ensuring it is large enough to cover the damaged area with some overlap. Apply a strong leather adhesive to the back of the patch and press it firmly into place, smoothing out any wrinkles or bubbles. Allow the adhesive to dry completely before moving on to the next step.
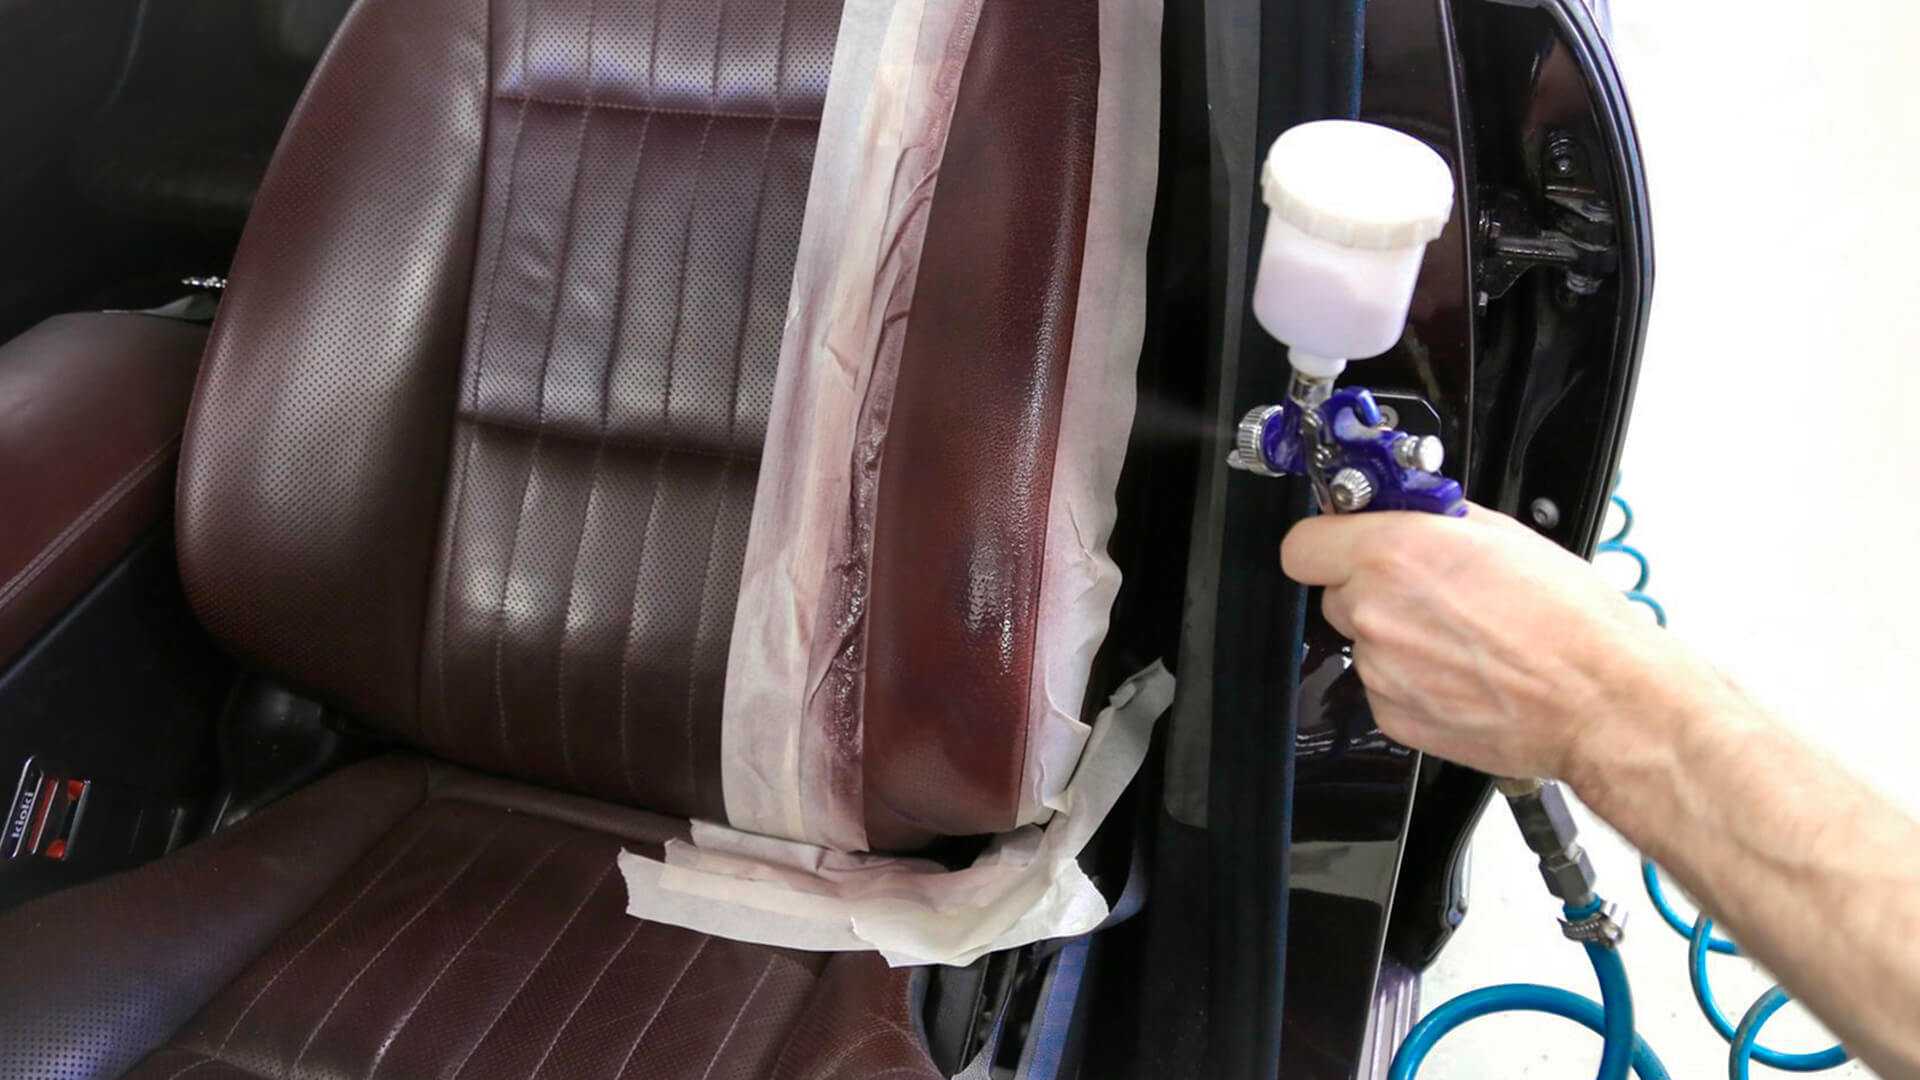
Restore Color and Finish
Now that the necessary repairs have been made, it’s time to bring your car’s leather seats back to their former glory by restoring their original color and finish. This part of the process may seem a little intimidating, but trust me, with the right tools and a little patience, you’ll be amazed at the transformation.
To achieve the desired outcome, you’ll want to use a leather dye or recoloring balm specifically designed for automotive interiors. These products are carefully formulated to ensure compatibility with the leather used in cars, so don’t be tempted to use a generic leather dye, as it may not provide the desired results.
Before you begin, make sure to read the manufacturer’s instructions thoroughly. This will help you understand the correct application method and drying time, which can vary depending on the product. As you apply the dye or balm to the repaired area, keep in mind that it’s essential to work slowly and methodically, ensuring even coverage. Rushing through this step can lead to an uneven finish or visible streaks, which would detract from the overall appearance of your seats.
Using a soft cloth, gently blend the color with the surrounding leather to create a seamless transition between the repaired area and the rest of the seat. This might take a bit of practice, but with some patience and attention to detail, you’ll soon become a pro at blending.
Once you’ve achieved the desired color and finish, allow the dye or balm to dry completely before using the seats. The drying time can vary depending on the product, so be sure to check the manufacturer’s guidelines. Remember, patience is key during this stage, as using the seats before the product has dried completely can result in damage or an uneven finish.
With the color and finish beautifully restored, you’ll find it hard to believe that your leather seats were ever damaged in the first place. Your friends and family will surely be impressed by your handiwork, and your car’s interior will look as good as new.
Condition and Protect
The final step in fixing your car’s leather seats is to condition and protect them. Regular conditioning will help to keep the leather soft, supple, and resistant to future damage. Use a high-quality leather conditioner designed for automotive interiors, applying it to the seats with a soft cloth. Be sure to follow the manufacturer’s instructions and allow the conditioner to absorb into the leather before wiping away any excess. Conditioning your leather seats every few months will help to maintain their appearance and extend their lifespan.
Protect Against UV Damage
Prolonged exposure to the sun’s UV rays can cause your car’s leather seats to fade, crack, or become discolored. To prevent this, consider applying a UV protectant to your seats after conditioning. This will help to shield the leather from harmful UV radiation and maintain its color and integrity over time. Be sure to choose a product specifically designed for automotive leather and follow the manufacturer’s instructions for application.
Maintain Regularly
To keep your car’s leather seats looking their best, it’s essential to perform regular maintenance. This includes cleaning and conditioning the leather, as well as protecting it from UV damage. By incorporating these steps into your car care routine, you can ensure that your leather seats remain beautiful, comfortable, and luxurious for years to come.
Establishing a consistent maintenance routine is crucial to preserving the pristine appearance and luxurious feel of your car’s leather seats. This indispensable aspect of car care not only ensures that your leather seats remain comfortable, but also significantly contributes to their longevity. But what exactly does regular maintenance entail?
Well, in essence, it’s a combination of several steps, each playing a vital role in maintaining the seats’ overall quality. Firstly, cleaning and conditioning the leather at routine intervals prevents the accumulation of dirt, debris, and oils that can damage the material over time. As a car owner myself, I cannot emphasize enough the importance of selecting appropriate products specifically designed for automotive leather. This simple yet effective practice goes a long way in avoiding any potential harm to the seats.
Conclusion
Fixing your car’s leather seats doesn’t have to be a daunting task. By following the steps outlined in this comprehensive guide, you can revive, restore, and rejuvenate your vehicle’s interior with confidence. Remember to assess the damage, clean the seats, repair any scratches, cracks, or tears, restore the color and finish, condition the leather, protect against UV damage, and maintain your seats regularly. By doing so, you can enjoy the luxurious feel and sophisticated appearance of your car’s leather seats for many miles to come.
FAQ
How can I prevent my leather seats from cracking?
To prevent your leather seats from cracking, it’s essential to keep them clean and well-conditioned. Regularly cleaning your seats with a gentle leather cleaner will remove dirt, debris, and oils that can cause the leather to become dry and brittle. Conditioning your seats with a high-quality leather conditioner every few months will help to maintain their moisture content, keeping them soft and supple. Additionally, using a UV protectant can shield your leather seats from the sun’s harmful rays, which can cause cracking and fading over time.
Can I use household products to clean my car’s leather seats?
It is not recommended to use household products for cleaning your car’s leather seats, as they may contain harsh chemicals or ingredients that can damage the leather. Instead, opt for a gentle leather cleaner specifically designed for automotive interiors. These cleaners are formulated to safely remove dirt and oils without stripping the leather of its natural oils and moisture. Always follow the manufacturer’s instructions when using a leather cleaner to ensure the best results.
How often should I clean and condition my car’s leather seats?
The frequency with which you should clean and condition your car’s leather seats depends on factors such as usage, climate, and exposure to sunlight. In general, it’s a good idea to clean your seats every one to three months, or more frequently if they become visibly dirty or stained. Conditioning your seats should be done every three to six months, or more often if you live in a particularly dry or sunny climate. Regular maintenance will help to keep your leather seats looking and feeling their best.
Can I use a hairdryer for leather dye?
While it may be tempting to use a hairdryer or heat gun to speed up the drying process, it’s best to avoid exposing your leather seats to direct heat. Excessive heat can cause the leather to become dry and brittle, increasing the risk of cracking or damage. Instead, allow the dye or adhesive to dry naturally, following the manufacturer’s recommended drying time. This will help to ensure the best possible results and prevent any potential damage to your seats.
My car’s leather seats have a strong odor. How can I eliminate it?
Unpleasant odors can sometimes develop in your car’s leather seats due to factors such as spills, cigarette smoke, or mold and mildew. To eliminate these odors, begin by giving your seats a thorough cleaning with a gentle leather cleaner. If the odor persists, you can try using a leather odor eliminator, which is a product specifically designed to neutralize and remove unpleasant smells from leather surfaces. Be sure to choose a product that is safe for automotive leather and follow the manufacturer’s instructions for use. Regular cleaning and maintenance can help to prevent odors from developing in the future.